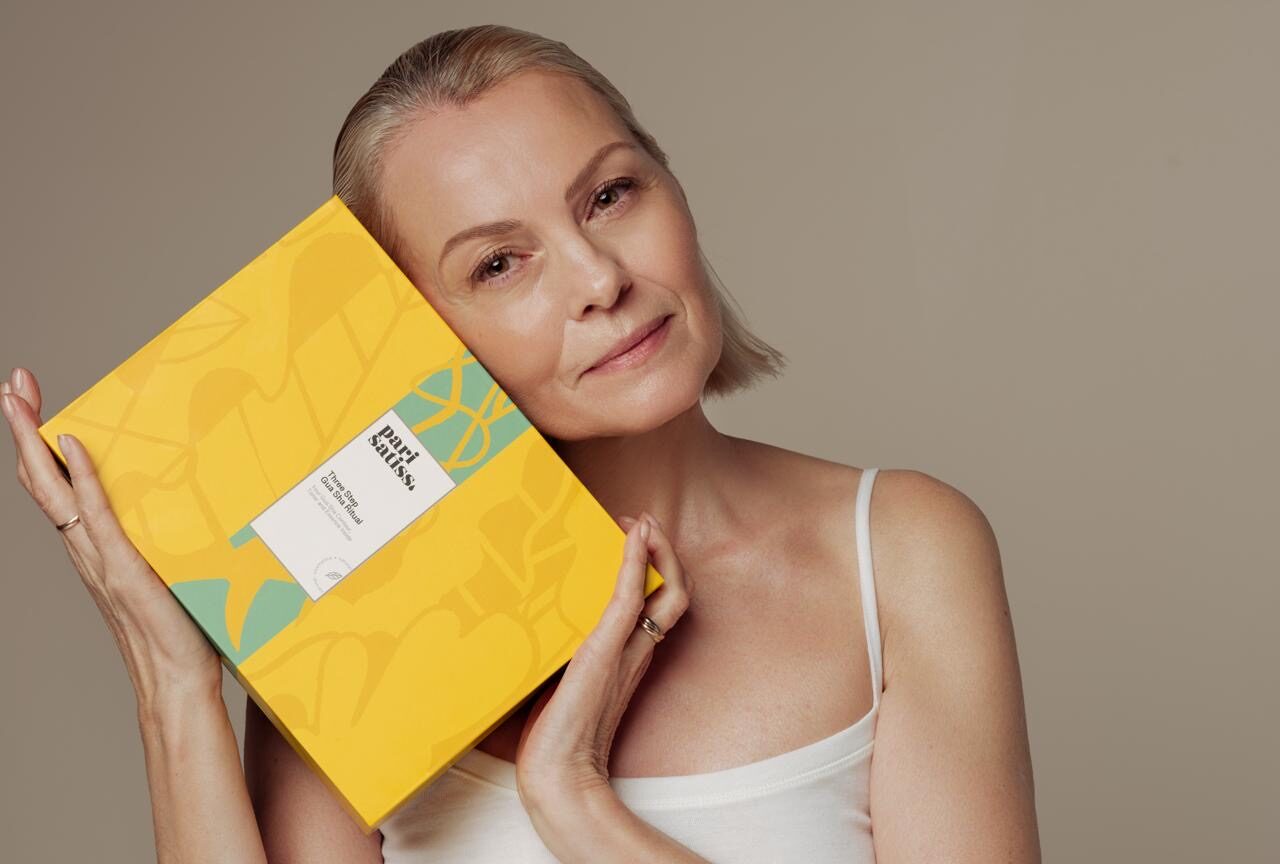
A Quick Tutorial on Gua Sha Angles and Pressure for Your Routine
Before beginning your first Gua Sha ritual, it’s helpful to practice proper angles and pressure on the back of your forearm. This ensures you’re comfortable with your technique before working on the more delicate areas of your face.
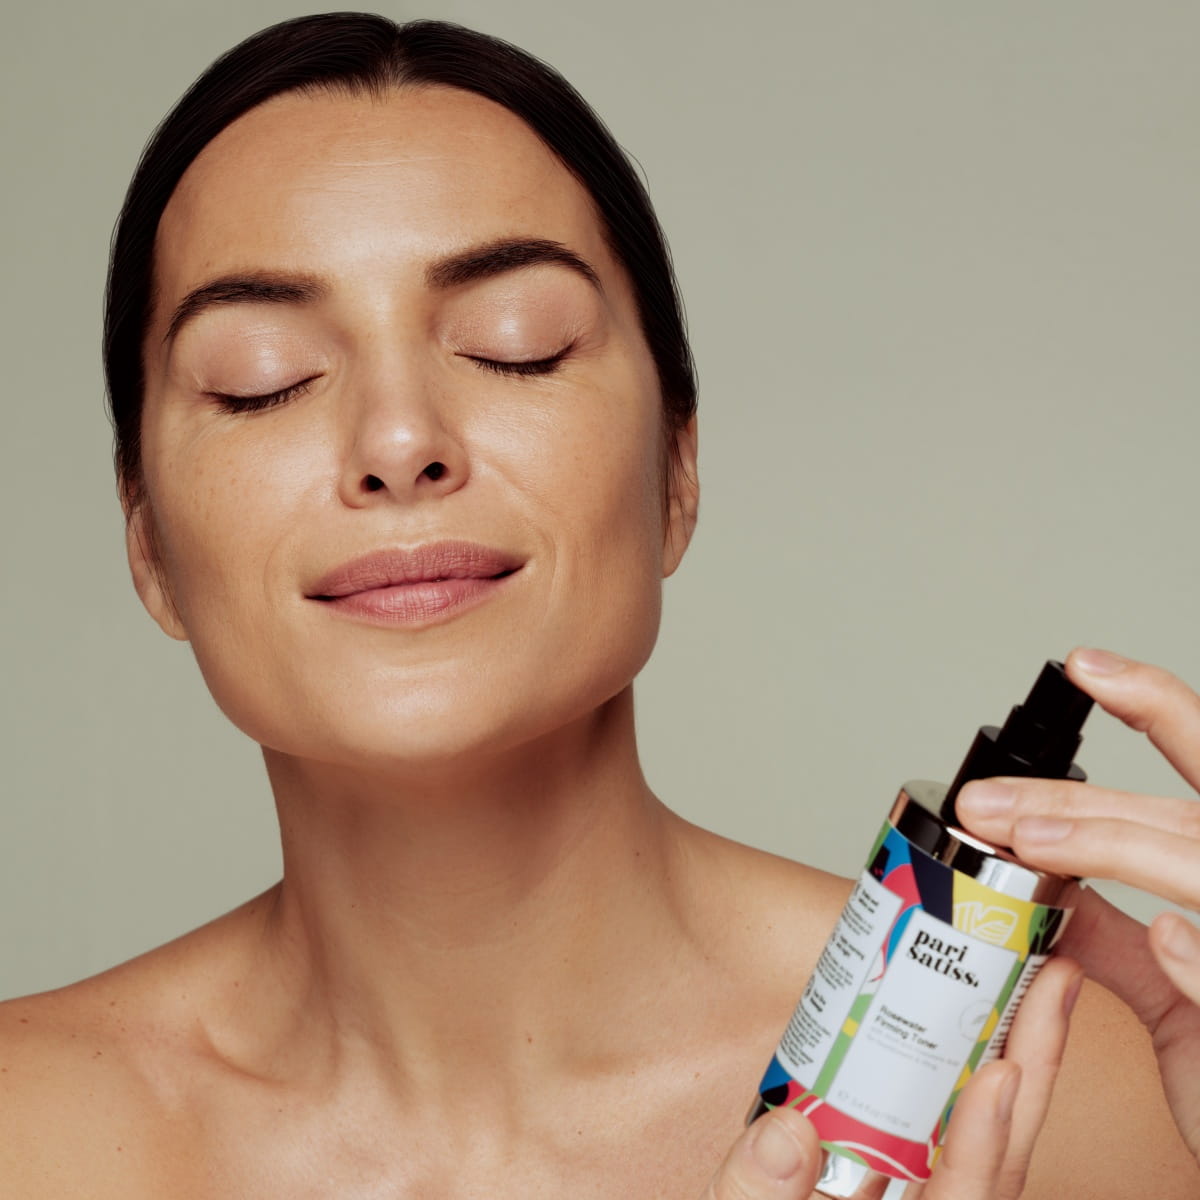
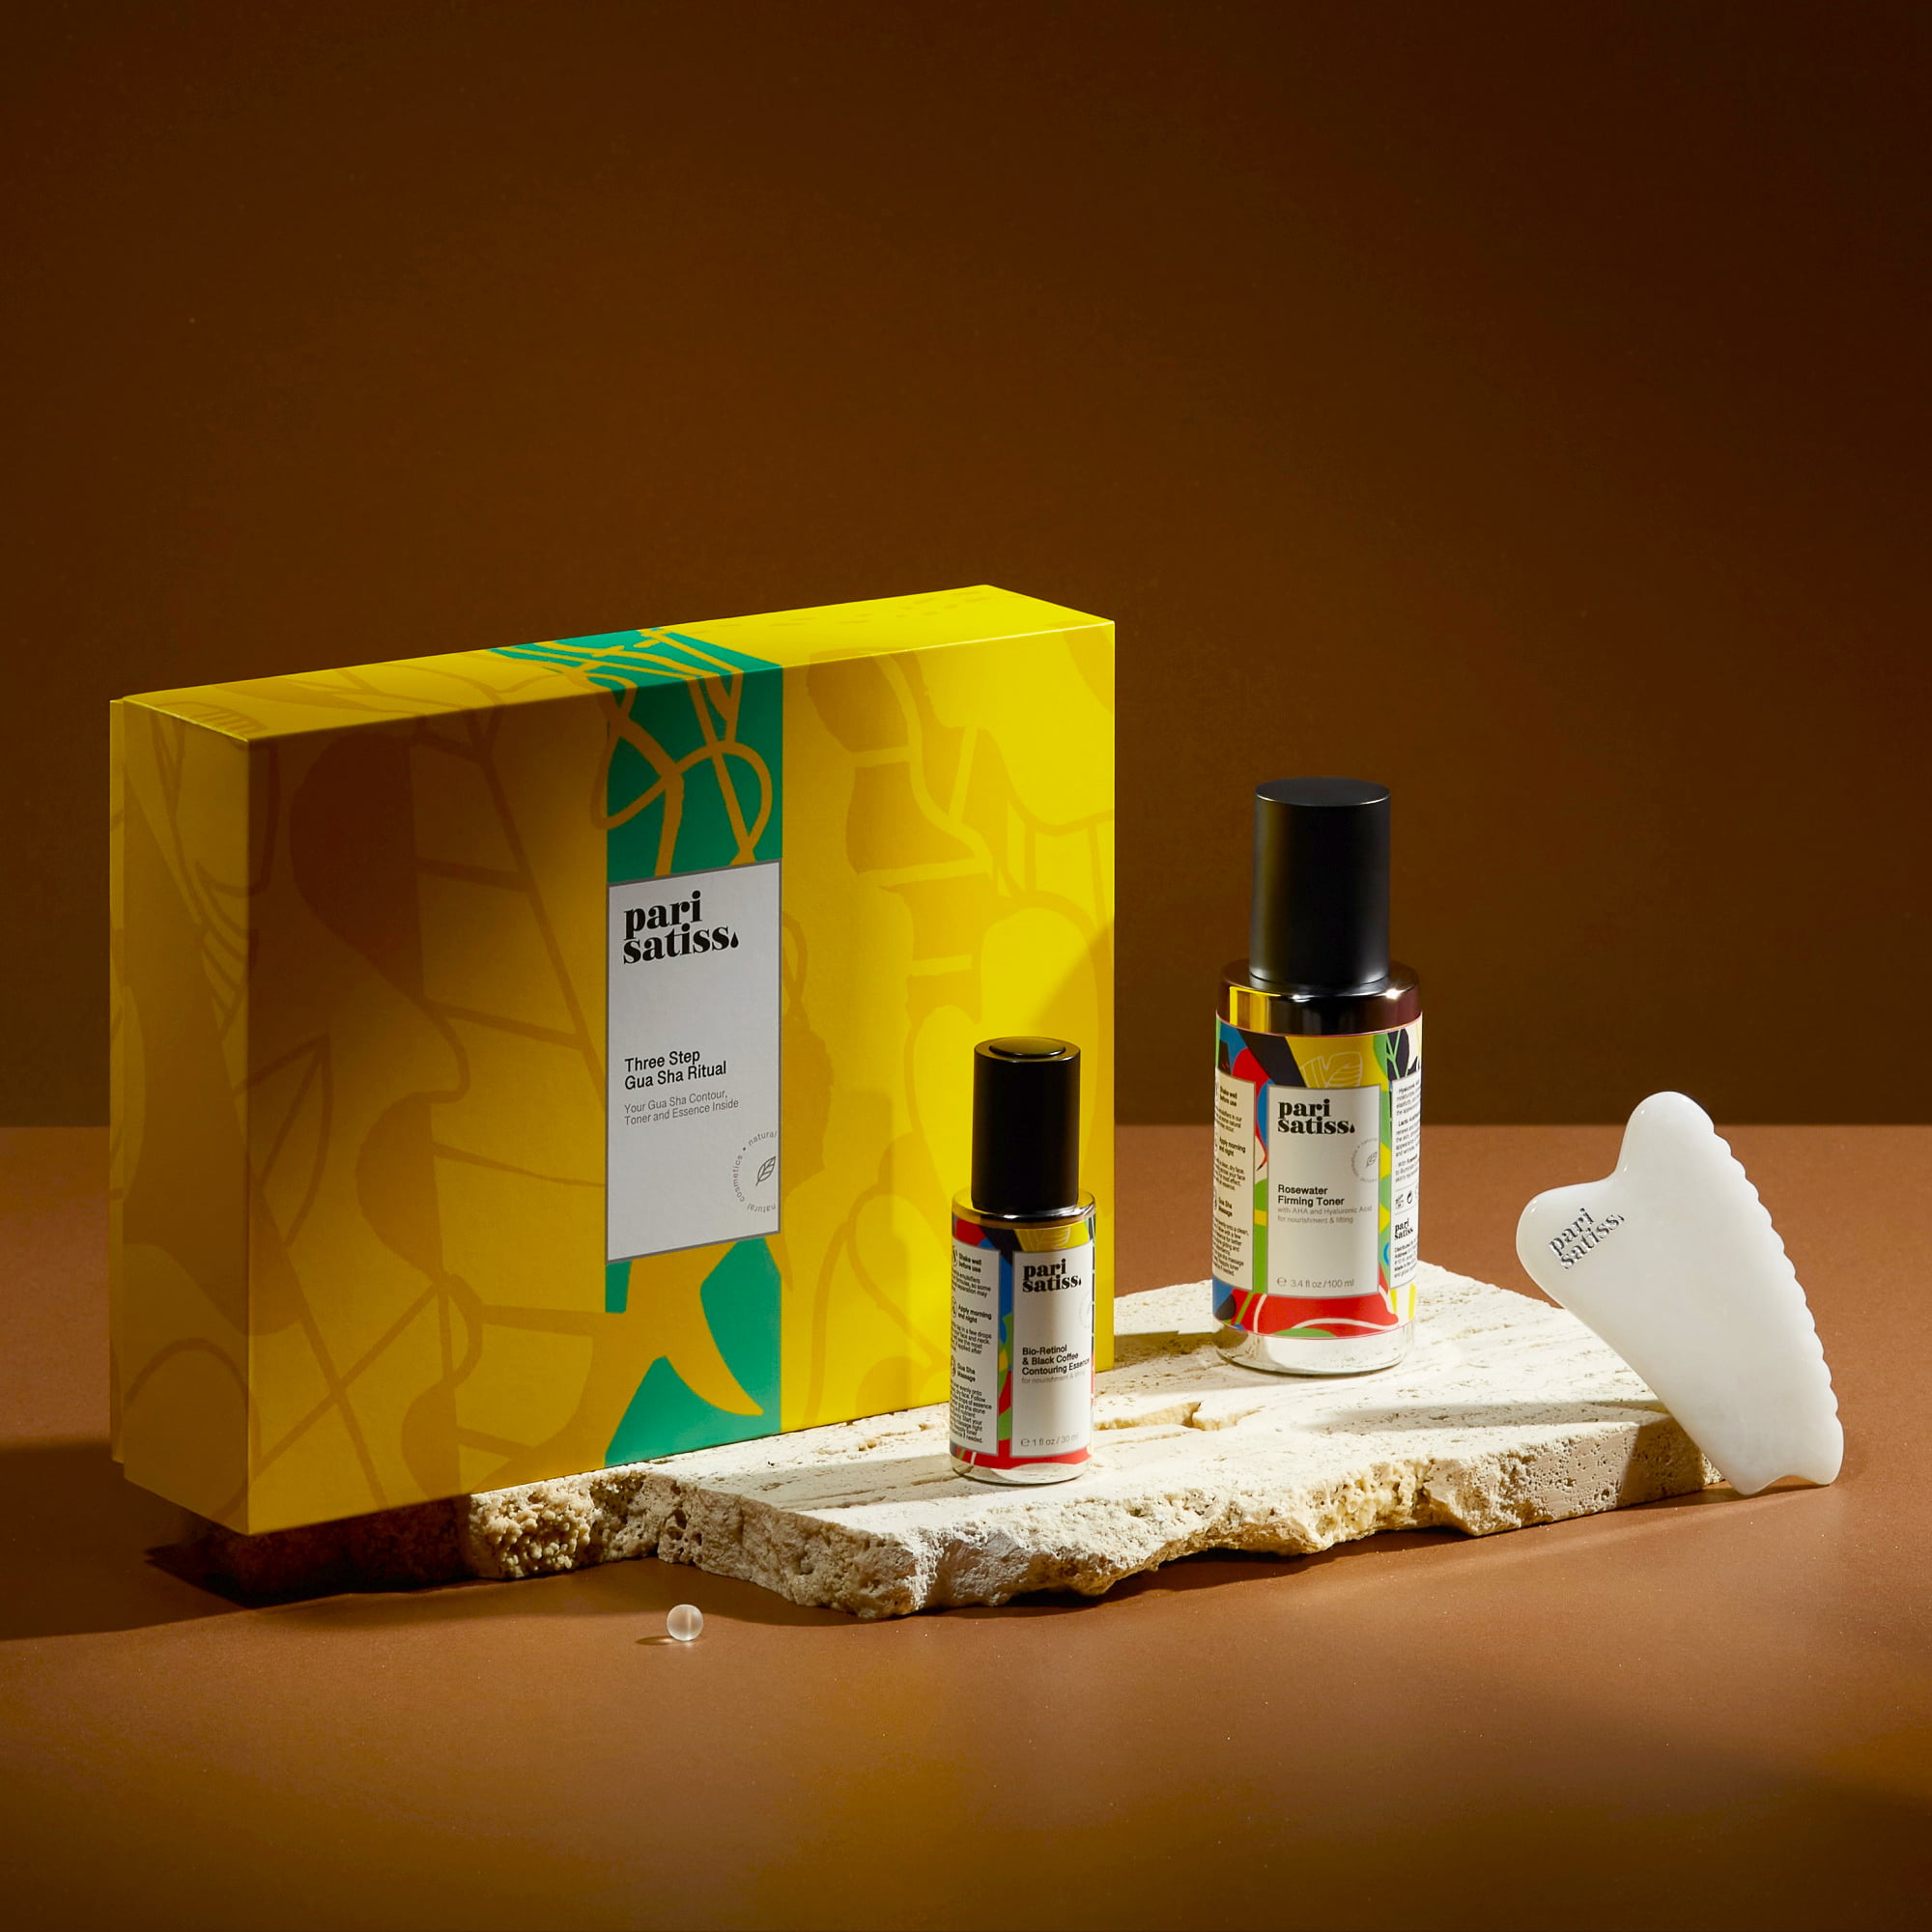
Start by misting your face—or in this case, your forearm—with toner, then apply a bit of facial oil. Place your Gua Sha stone in your palm, ensuring it feels secure and not slippery. The working edges of the stone should be lightly oiled, while the rest should remain dry for a firm grip.
The 3 Core Techniques of Gua Sha Massage
Technique 1:
Fast movements + firm pressure + wider angle (~45°)
- Glide the tool in the opposite direction of its tilt.
- This technique is invigorating and best for areas like the scalp or décolleté.
Technique 2:
Slow movements + light pressure + shallow angle (~15°)
- Move the stone in the same direction as the tilt.
- Ideal for sensitive facial areas to encourage gentle lymphatic flow.
Technique 3:
Slow movements + firm pressure + shallow angle (~15°)
- Glide the tool in the same direction as its tilt.
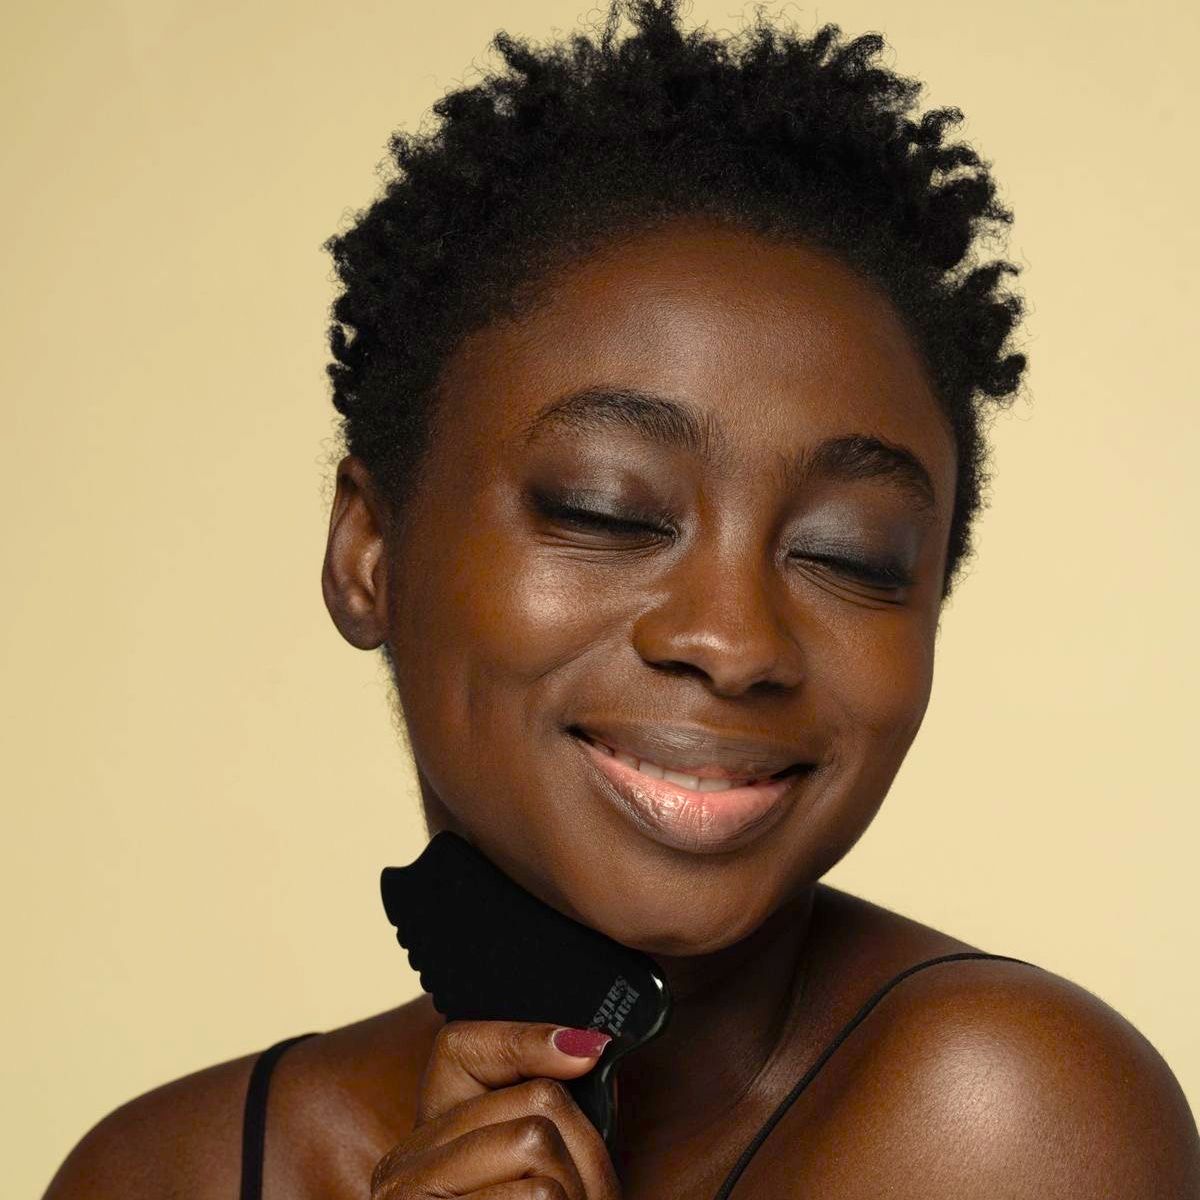
- Use this method for lifting, contouring, and releasing deeper tension in the face and neck.
For facial and neck routines, Techniques 2 and 3 are most commonly used. For more robust areas, such as the scalp or décolleté, Technique 1 can be safely incorporated to boost circulation and release deeper tension.
Your Ritual, Your Way
Now that you understand the foundational movements, you’re ready to build your personalized Gua Sha routine.
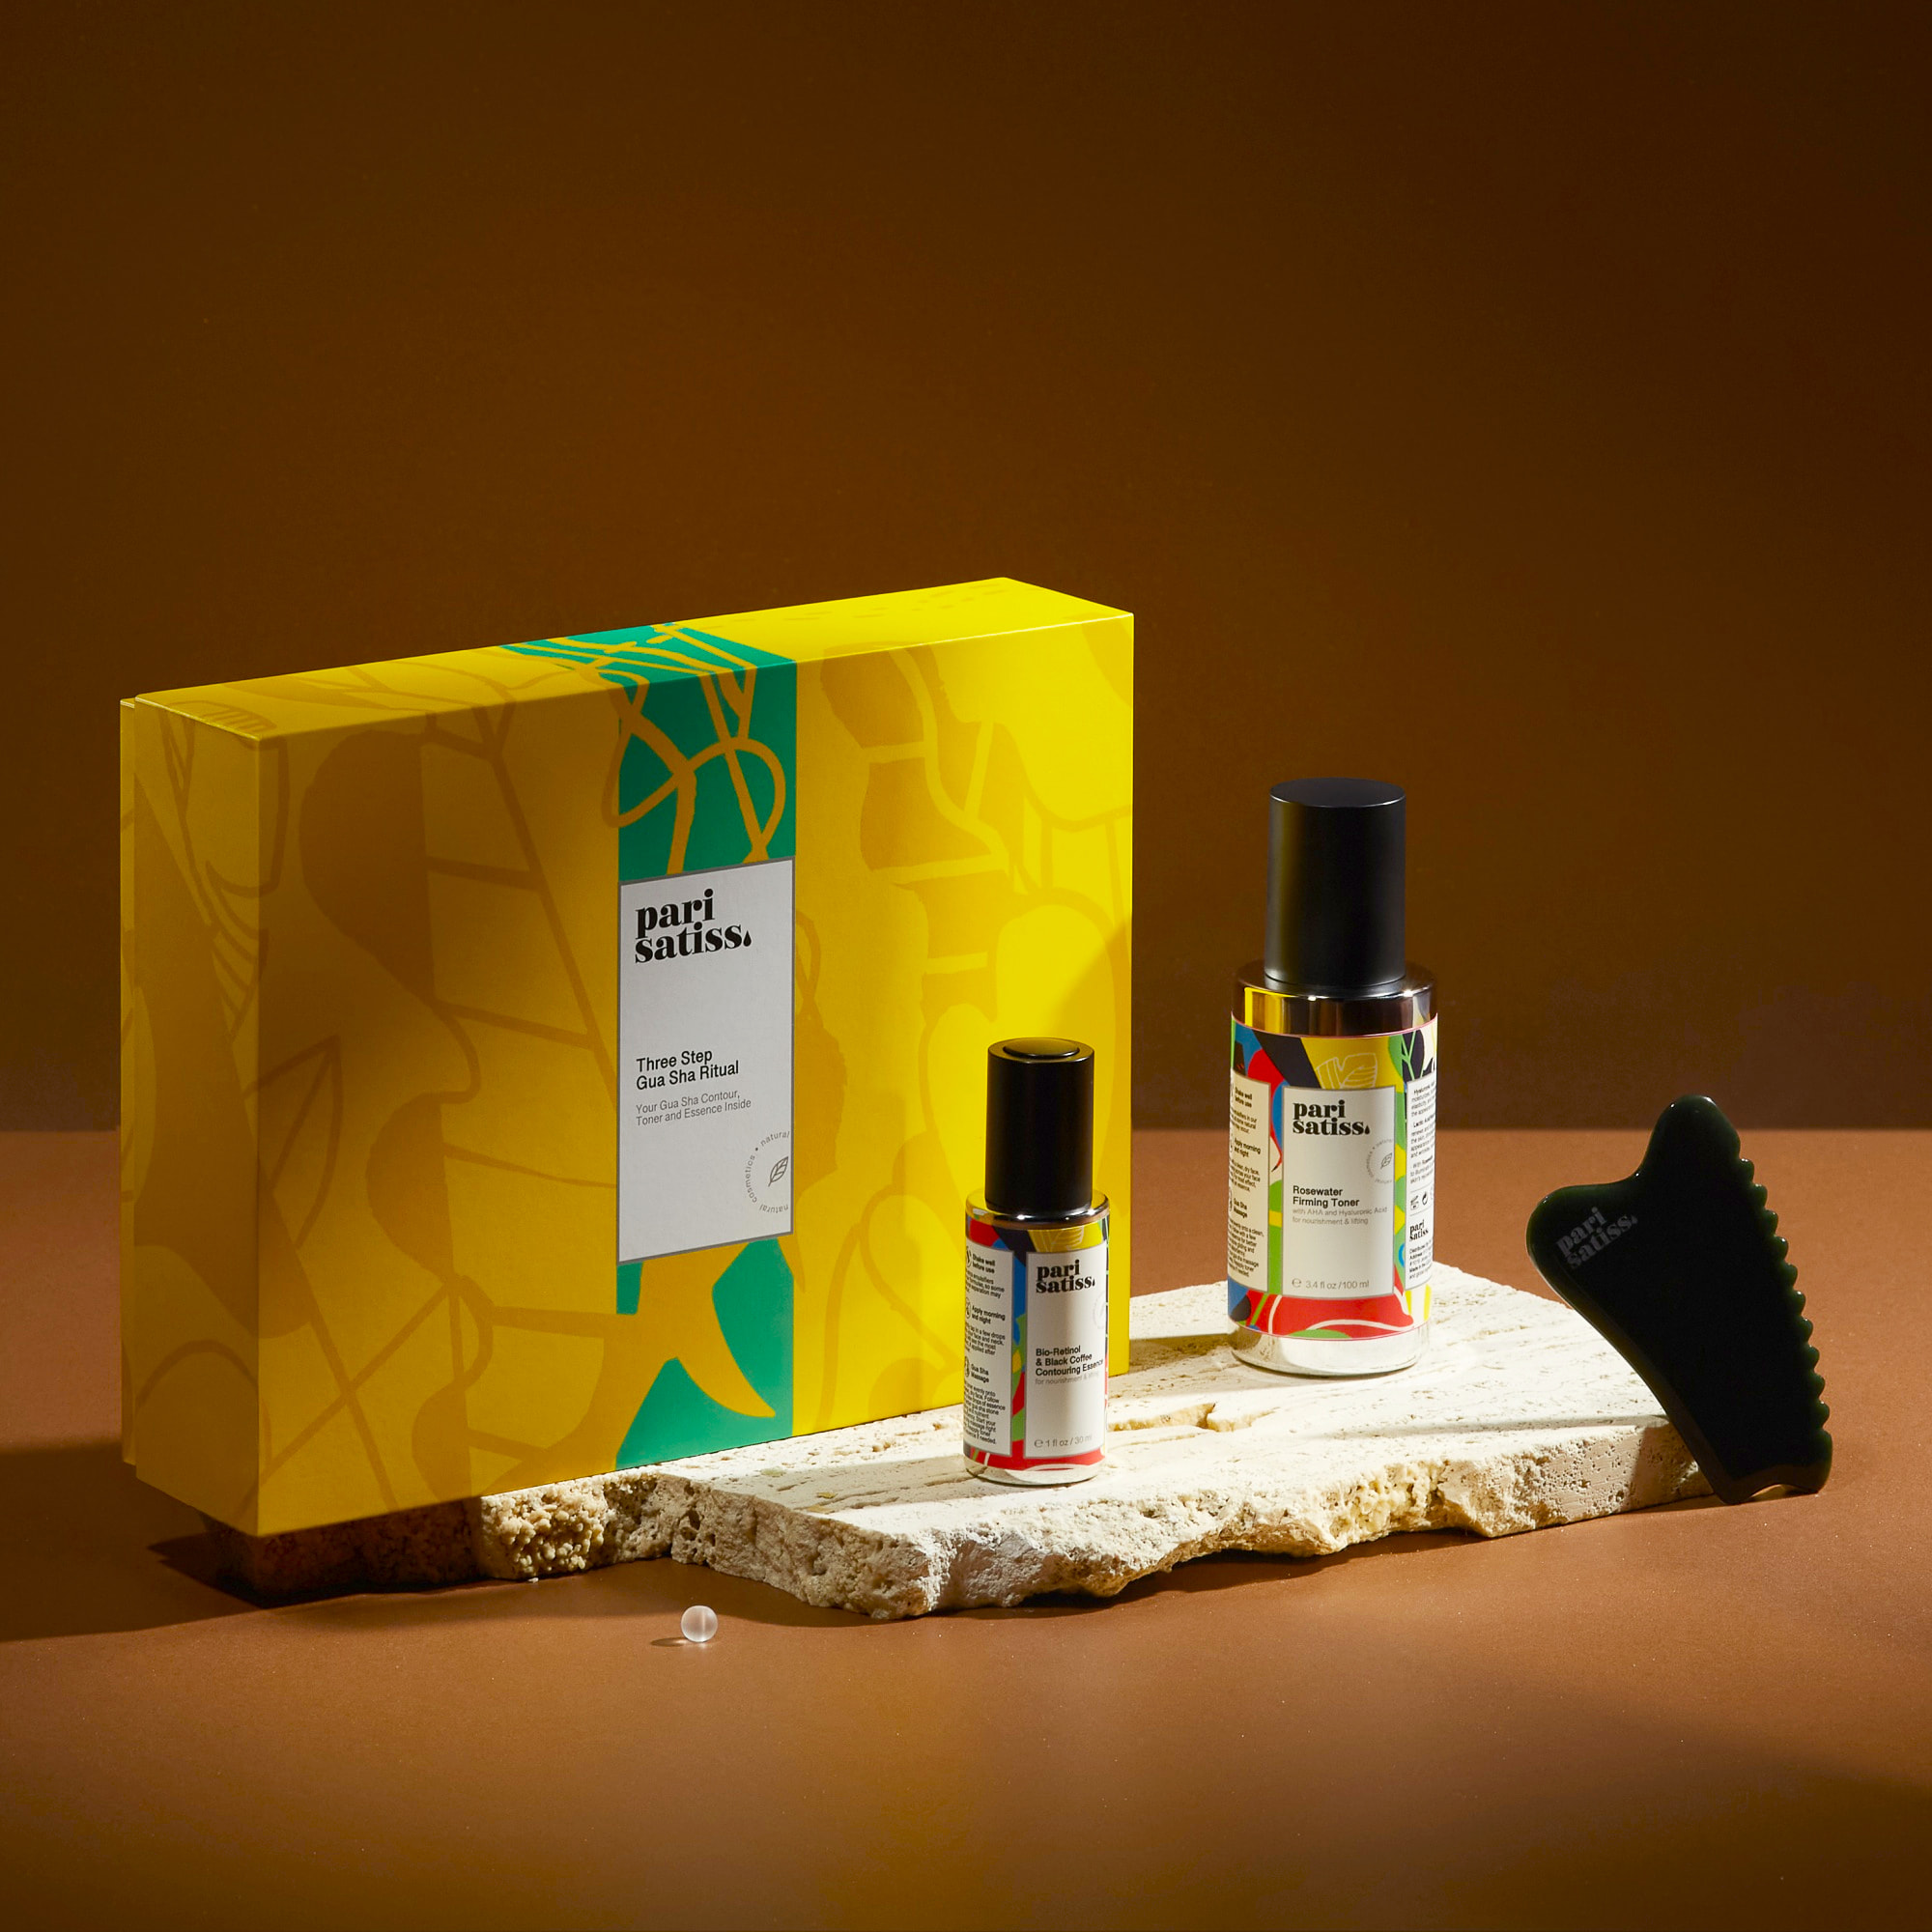
Explore our curated collection of Gua Sha rituals:
- Some focus purely on stone massage
- Others incorporate reflexology techniques (yes, also with your Pari Satiss Gua Sha tool!)
- And a few require nothing more than your hands, your face, and a few mindful minutes of self-care
No matter your approach, each ritual is designed to help you reconnect, restore, and glow from within.